Easy Chain
I wrote this Tutorial. Any similarities to other Tutorials is completely coincidental.
Okay here we go!!!
500X500 pixels ,Background color a medium color ,300,000 dpi.
Go to Layers new raster layer.Make oval about 3/4 to 1 inch long or whatever shape you want.

Convert to raster
Then Effects EyeCandy 4000/Chrome

Use these settings

You should have this now

Go to image then resize 40%

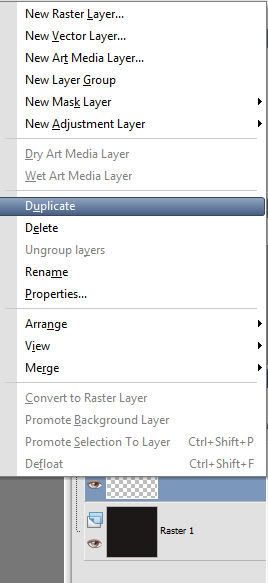
Go to your layers palletand right click on the
chain layer and duplicate.

Take your mover tool and pull down like this

Then zoom in so you can see what your doing.
Take the Selection tool then freehand Selections
with these setting.

trace the top layer chain where I did. Then make sure your on the top layer.

Then hit the delete key on your keyboard.Then go to selection / select none.
Then Merge / merge down. Then right click this layer and repeat the last 3 steps.Keep repeatting until you have it the size you want. You can use pretty any round or oval shape and you can also shape it with the warp tool. You can also resize to make it smaller , just remember when making smaller always go to Adjust/Sharpness/Sharpen.
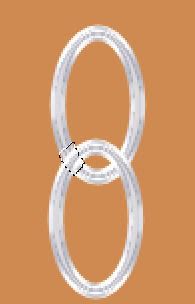
Here's one I made

There go Hope This wasn't too confusing!! Have fun!!!


